Build your own budget-friendly DIY Self-Watering Planter in 2024 using plastic containers! Say goodbye to watering guesswork. Our article shows simple steps to create a wonderful indoor garden. Read on and plant happy plants! I hope you don’t get bored.
What important things do you need?
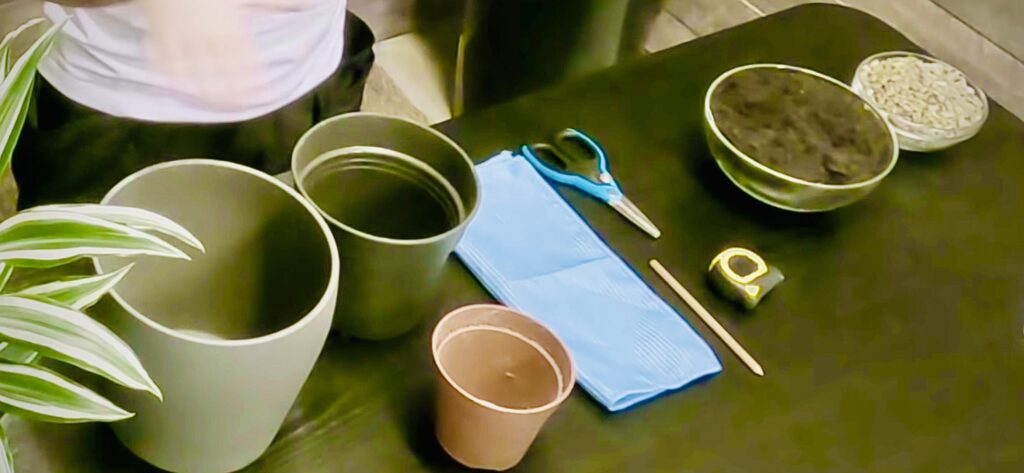
Before we begin, let’s gather the equipment for this green adventure:
- Waterproof Outer Pot
- Inner Pot with Drainage Holes
- Microfiber Cloth or String
- Pencil
- Measuring Tool
- Sharp Scissors
- Soil
- Plant in Need of a Refresh
DIY Self-Watering Planter: Step-by-Step
Let’s go old fashioned Let’s get our hands on some DIY magic. Follow these steps to make your self-watering planter from recycled plastic containers:
Step 1: Raising the Inner Pot
Start by selecting a plastic container – something sturdy and with a lid. This will be the base of your self-watering planter.
- Drill, Baby, Drill: Equip your drill with the appropriate bits,and create a hole in the container’s lid. This is where the magic begins – the hole will allow water to flow from the reservoir to the soil.
Step 2: Assembling the Planter Duo
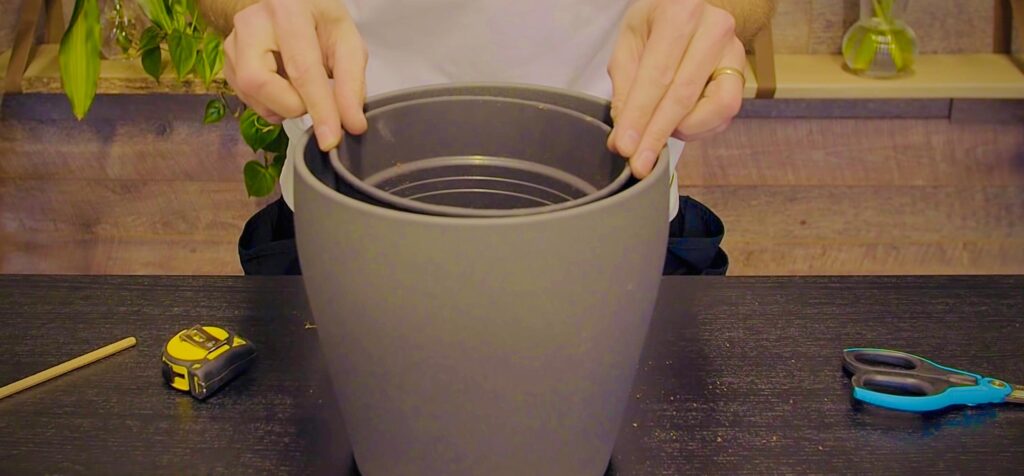
Now, let’s play matchmaker with two essential components – the plastic container and the terra cotta pots.
Fit Like a Glove: Place one terra cotta pot inside the plastic container. Ensure a snug fit, as this pot will be your water reservoir
Step 3: Capillary Matting Conundrum
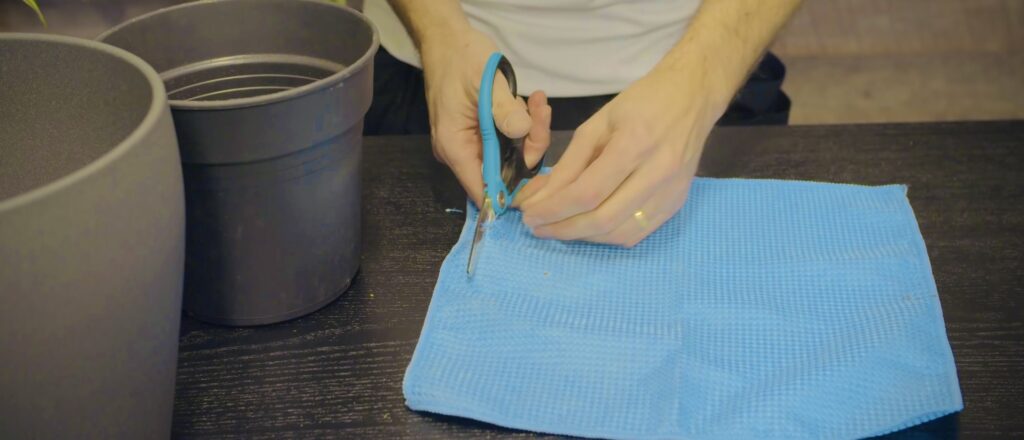
Introduce capillary matting into the mix – a key player in the self-watering game.
- Matting Mastery: Cut capillary matting to fit the size of the terra cotta pot, allowing it to extend into the plastic container.This matting will serve as the bridge, drawing water from the reservoir to the soil.
Step 4: Tubing Tactics
Now, let’s guide the water flow with some tubing magic.
- Tubular Connection:Now let’s explain the magic of tubular joints in simple terms. Picture this: You pass a plastic tube through the hole in the lid of the can. What’s his job? Just like a water map. Think of it like a small water controller.
Therefore, the tube becomes a matchmaker between the water tank and the capillary pad. It allows water to flow from the reservoir to the mat, which in turn sends the water to the ground. Think of it like a small water pipe that will allow your plants to get the water they need.
- Why is it crucial?:The purpose of this tube is to prevent water problems. It helps remove excess water and prevent your plants from getting wet. It also adds a touch of elegance to your DIY projects, like a superhero cape for a self-watering planter.
Step 5: Potting Mix Performance
It’s time to create the perfect environment for your plant with the right potting mix.
Soil Symphony:
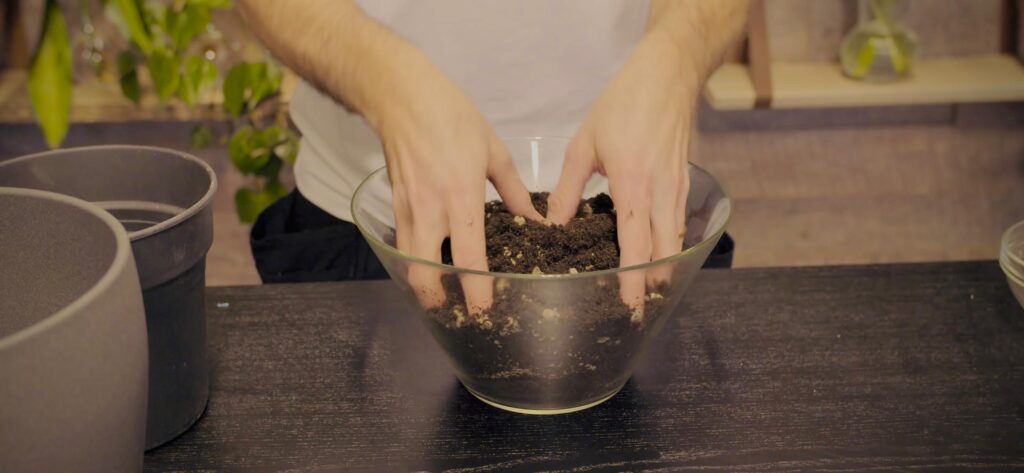
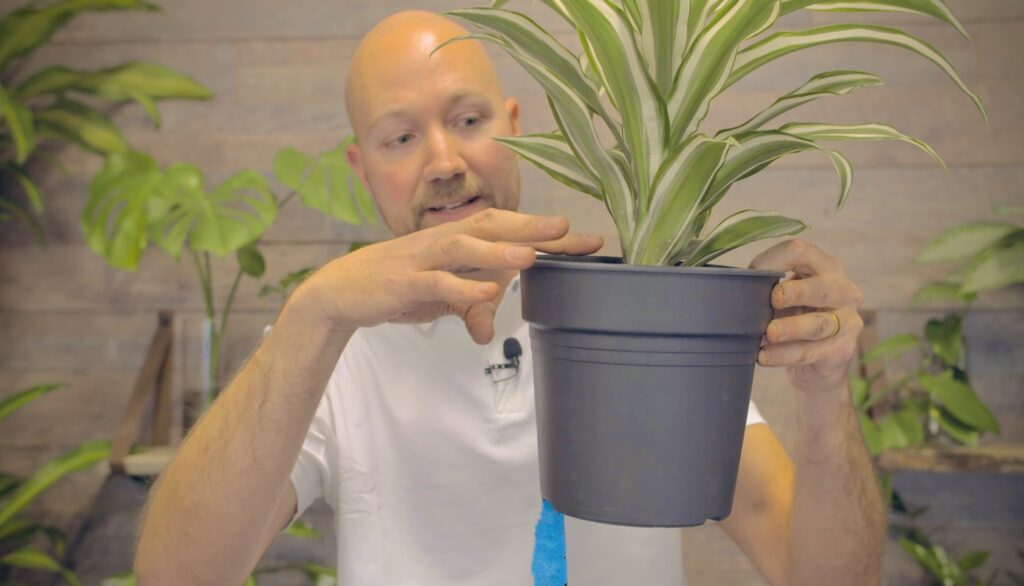
Now let’s talk dirty – the good stuff! In this step you create the perfect orchestra for your plants’ roots. Fill the terracotta pot with the potting mix of your choice; The soil your plants will call home.
Imagine that you have prepared a good bed for your green partner. Pour the soil slowly, making sure it is tight to the roots. Be generous but not too much. You want your plant to have enough room to easily extend its roots.
Think of it like making a nice bed for the night. Soil is where your plants get nutrients and support; so make it a comfortable place. But like us, plants don’t like many things. Leave some space at the top to give them room to breathe.
Step 6: Hydration Station Setup
Assemble the components, and your self-watering planter is ready for action.
- Reservoir Check: Pour water into the plastic container, and witness the capillary matting working its magic. The soil will absorb the water through the matting, keeping your plant consistently hydrated.
VIDEO DEMONSTRATION
Conclusion: Happy Gardening!
The task of keeping your plants watered gets easier with your new self-watering planter By quickly checking the water level,splashing as needed,youcan grow a green joint like you don’t have the energy.
Remember,the secret is simple;Your personal benefit can meet your facility’s water needs and eliminate guesswork.Say goodbye to the days of worrying about being overwatered or underwatered;Your plants will thankyou forlush,healthy foliage.
We’re here to share more about farming and embark on a happier plant-parent journey.
Frequently Asked Questions (FAQs):
How often should I water my plants?
Automatic irrigation systems reduce the frequency of irrigation. Just check the reservoir; If the weather is dry, it is harvest time
Do my plants need more water?
Adjust the number of capillary spacer strips to meet your plant’s water needs. This customizable feature ensures the health of many plant species.
Is this suitable for indoor and outdoor plants?
Of course! Whether your green partner is decorating the house or breathing fresh air, DIY self-watering plant pots can meet the various needs of your family plant.
No responses yet