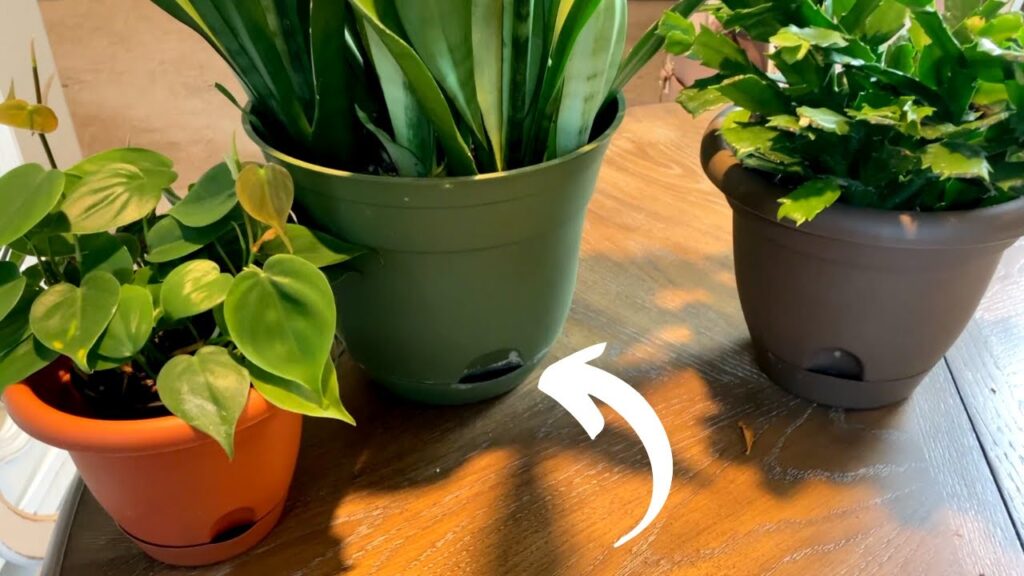
Moving a plant into a new system can be stressful for it—especially when switching from traditional watering to a reservoir-based setup. The key to a smooth transition to a self watering planter is minimizing root disturbance and helping the plant adapt gradually.
If done correctly, most houseplants adjust well and even thrive in their new environment. But rushing the process can lead to drooping leaves, slow growth, or temporary wilting.
Why Plants Experience Shock During Transition
Plants rely on stable conditions. When you move them into a self watering planter, several things change at once:
- Soil moisture patterns
- Root environment
- Water availability
- Airflow around roots
Roots that are used to drying out between waterings suddenly experience more consistent moisture, which can take time to adjust to.
Step 1: Choose the Right Time
Timing matters more than most people expect.
The best time to repot is:
- During active growth (spring or early summer)
- When the plant is healthy and not stressed
- Not immediately after shipping or relocation
Avoid repotting during dormancy or when the plant is already struggling.
Step 2: Gently Remove the Plant
Carefully take the plant out of its current pot.
- Loosen the root ball without pulling aggressively
- Shake off excess soil, but don’t remove everything
- Avoid damaging fine roots
Keeping some of the original soil helps the plant adjust more gradually to the new environment.
Step 3: Use the Right Soil Mix
Switching to a proper soil mix is essential for self watering systems.
A good mix includes:
- Potting soil
- Perlite or pumice
- Coco coir or bark
This ensures the soil can wick water effectively while still allowing oxygen to reach the roots.
Step 4: Top Water First
One of the most important steps is watering from the top after repotting.
This helps:
- Fully hydrate the soil
- Activate the wicking system
- Remove air pockets
Do not rely on the reservoir immediately—plants need time to adjust.
For a full walkthrough of repotting steps, see How to Repot a Plant Into a Self Watering Planter.
Step 5: Ease Into Reservoir Use
After repotting:
- Wait a few days before filling the reservoir
- Allow the plant to settle into the new soil
- Gradually introduce bottom watering
This staged approach reduces the risk of overwatering and root shock.
Step 6: Monitor for Stress Signals
It’s normal for plants to show mild stress during the transition.
Watch for:
- Slight wilting
- Slower growth
- Leaf drooping
These symptoms usually improve within 1–2 weeks.
However, if the plant continues to decline, there may be another issue. In that case, check Why Is My Plant Still Wilting in a Self Watering Planter? for troubleshooting tips.
Extra Tips for a Smooth Transition
- Keep the plant in stable light conditions
- Avoid fertilizing immediately after repotting
- Maintain moderate humidity
- Don’t overfill the reservoir early on
Small adjustments can make a big difference in how well your plant adapts.
Final Thoughts
A successful transition to a self watering planter comes down to patience and proper setup. By minimizing root disturbance, using the right soil, and gradually introducing the reservoir system, you can help your plant adapt without shock.
Most plants recover quickly and go on to benefit from more consistent moisture and easier long-term care.
FAQ
How long does it take a plant to adjust to a self watering planter?
Most plants adjust within 1–2 weeks, though some may take longer.
Should you remove all old soil when repotting?
No. Keeping some original soil helps reduce transplant shock.
Is wilting normal after repotting?
Yes. Mild wilting is common and usually temporary if the plant is otherwise healthy.